Getting started with TimeToBook
A quick walk-through of the first things to set up when you claim your booking page: services, staff, hours, and your first booking.
Welcome to TimeToBook. This guide walks you through the essentials so you're ready to take bookings whenever you are. Most salons are set up in under ten minutes.
The setup wizard
The first time you sign in, TimeToBook takes you through a short guided setup. It has four steps (Details, Services, Hours, Ready) and fills in sensible defaults so you can keep moving:
- Details: your phone number and address. Both are optional.
- Services: your menu. Two empty rows are ready for a name, duration and price, and Add another service adds more. You need at least one service with a price to continue, and you can add the rest later.
- Hours: your opening hours. These start as Monday to Saturday, 9am to 5pm, with Sunday closed. Click a day to switch it between open and closed, and adjust the times.
- Ready: you'll see your booking link. Click Go to Dashboard to finish.
If you'd rather skip the wizard, click Skip for now at the top. Everything in it can also be set up later from the app.
The Getting started checklist
For the first 14 days after setup, a Getting started checklist sits at the top of your Dashboard:
- Create your account
- Review your services
- Set your working hours
- Preview your booking page
- Share your booking link (with a Copy link button)
Items tick themselves off as you do them. Collapse the checklist if you want it out of the way, or dismiss it to hide it for good.
The four things to do first
If you skipped the wizard, or want to go further:
- Add your services: what you offer, how long each takes, and the price. (Staff & Services)
- Set your hours: your opening hours are in Settings > Business Hours, and each staff member's hours are on the Working Hours tab when you edit them in Staff & Services.
- Preview your booking page: see exactly what clients will see. Click your Booking URL on the Dashboard.
- Share the link: put it on Instagram, Google, or in your text replies. See Sharing your booking page.
Email reminders, no-show tracking and the client list are all on from the start.
Your free trial
For your first 30 days you can use everything, including TimeToBook Plus features like repeat bookings, rebooking reminders, review requests and online deposits. One staff member stays free after that, and you can keep Plus or add staff from Settings → Billing whenever you're ready. See Billing, trials and plans.
Finding your way around
After signing in you land on the Dashboard: today's schedule, your booking URL, and your key numbers.
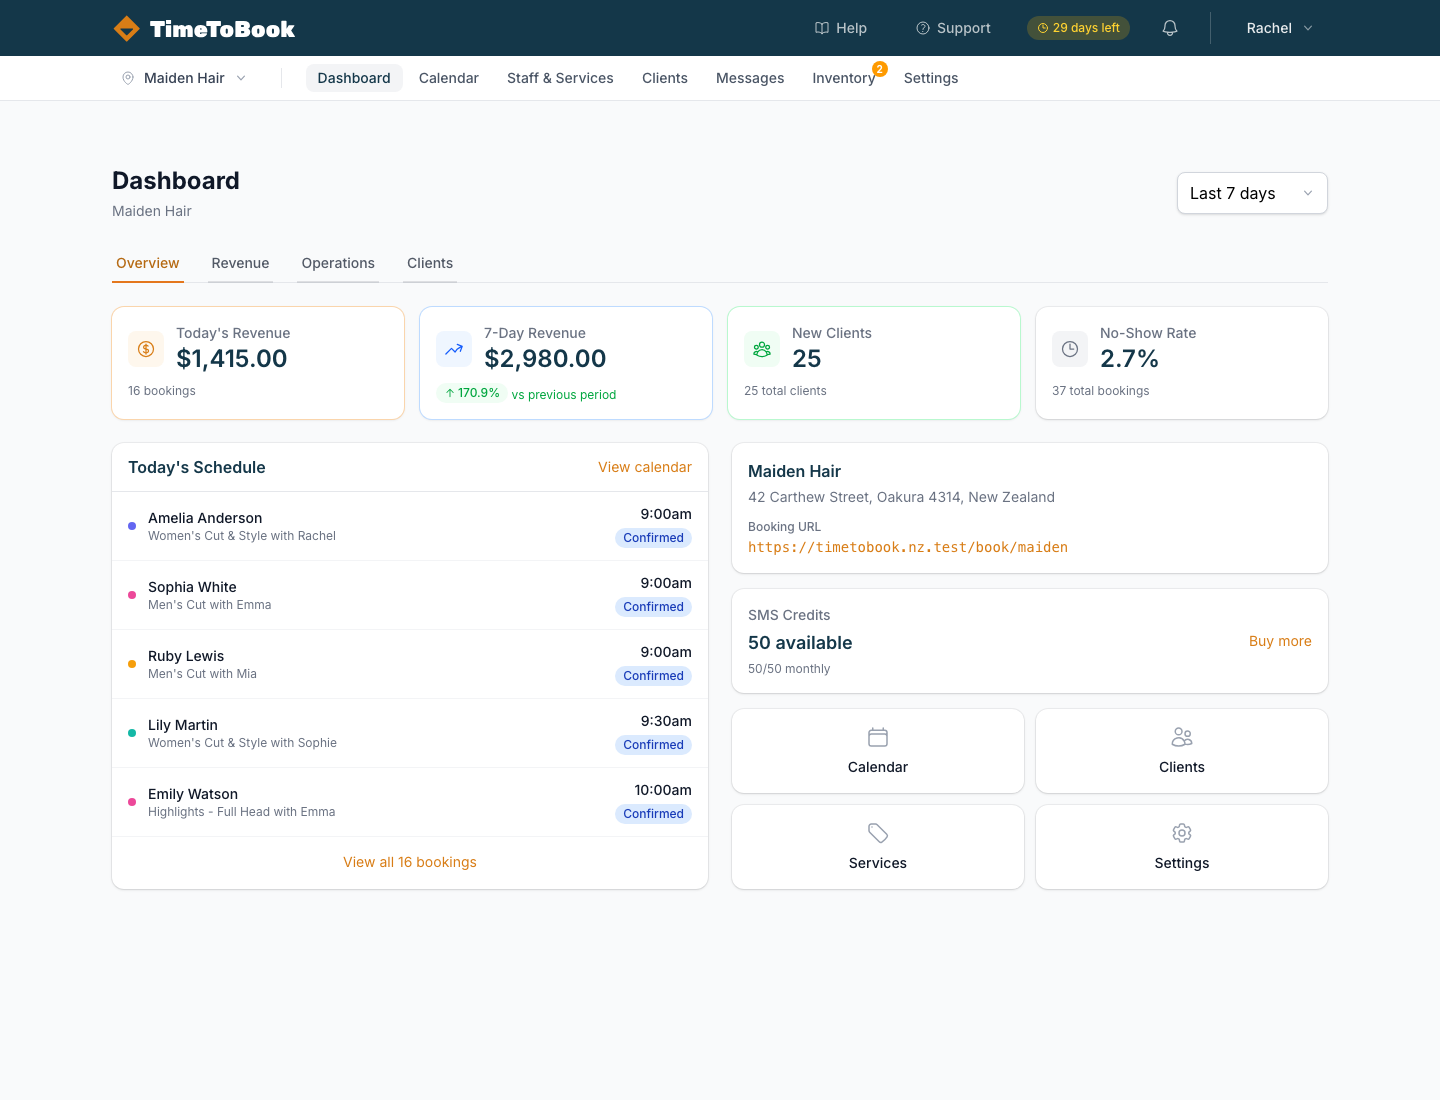
The main menu runs down the left-hand side: Dashboard, Calendar, Staff & Services, Clients, Messages, Inventory and Settings. On a phone, tap the menu icon in the top-left to open it. Depending on your role, you may not see every item.
The bar along the top has Support, Ask Tim (our help assistant) and the Roadmap.
Your booking URL
Every location has its own booking URL that looks like this:
https://timetobook.com/book/your-salon-slug
You'll find your exact URL on the Dashboard under Booking URL. Share it anywhere you'd normally put a "Book now" button: your Instagram bio, Google Business Profile, website or email signature.
Next steps
- Set up your services: what you offer, durations and prices.
- Add staff members: solo? You're already set.
- Understand the calendar: how the day and week views and bookings work.
- Customise your booking page: what your clients see.
- Using TimeToBook on your phone.
- Find out what's in TimeToBook Plus.
If you get stuck, click Ask Tim or go to Support to send us a message.
Still stuck?
Our support team is ready to help.